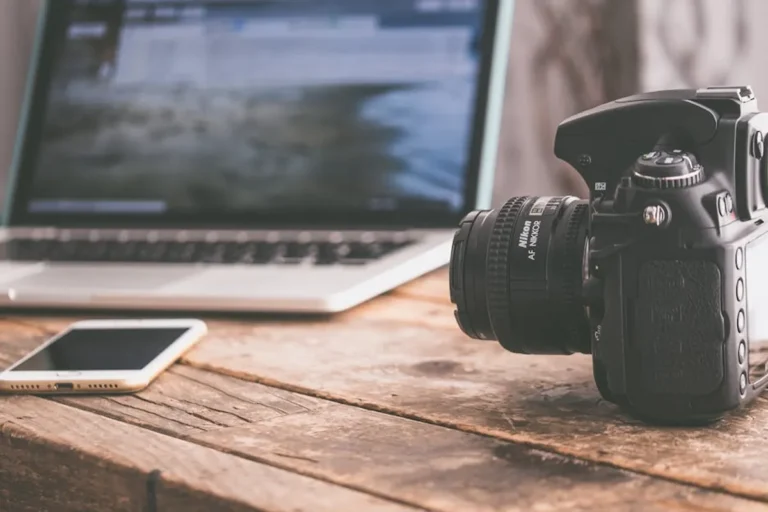

Embarking on wildlife photography offers unparalleled rewards, capturing fleeting moments of nature's raw beauty. For beginners, the initial steps can seem daunting, balancing technical camera settings with the unpredictable nature of subjects. This guide focuses on establishing a practical foundation, from selecting appropriate entry-level gear to mastering essential field techniques, ensuring your first ventures into the wild are productive and enjoyable.
Essential Gear for Starting Out
Successful wildlife photography begins with appropriate equipment, but expensive gear is not a prerequisite. Focus on functionality that supports the unique demands of capturing dynamic subjects at a distance.
Camera Body Selection: DSLR vs. Mirrorless
Both DSLR and mirrorless cameras can serve a beginner well. Key considerations include:
- Autofocus Speed and Accuracy: Essential for tracking moving animals. Look for systems with multiple autofocus points and continuous tracking modes (often labeled AI Servo or AF-C).
- Burst Rate (FPS): A higher frames-per-second count (e.g., 7-10 fps) increases your chances of capturing the decisive moment in a sequence of action.
- ISO Performance: Wildlife often requires shooting in lower light conditions (dawn, dusk, dense foliage). A camera that performs well at higher ISO settings (e.g., ISO 1600-3200 with minimal noise) is advantageous.
- Weather Sealing: While not critical for every beginner, some degree of weather resistance protects your investment in unpredictable outdoor conditions.
Recommendation: Start with an entry-level or mid-range crop-sensor (APS-C) DSLR or mirrorless camera. These offer a good balance of features, performance, and cost, providing a solid platform for learning before investing in full-frame systems.
Lenses: Reaching Your Subject
The lens is arguably more critical than the camera body for wildlife. You need reach.
- Telephoto Zoom Lenses: A zoom lens in the 70-300mm or 100-400mm range is an excellent starting point. These offer versatility to frame subjects at varying distances. Look for lenses with image stabilization (VR, OS, IS) to counteract camera shake, especially at longer focal lengths.
- Aperture: Lenses with wider maximum apertures (e.g., f/4, f/5.6) gather more light, allowing for faster shutter speeds and better subject isolation. While f/2.8 primes are ideal, they are often expensive and heavy. A variable aperture zoom (e.g., f/4-5.6) is a common and practical beginner choice.
Recommendation: Prioritize the longest focal length you can reasonably afford within a quality telephoto zoom. A 300mm or 400mm lens on a crop-sensor camera provides an effective focal length equivalent to 450mm-600mm on a full-frame, offering significant reach.
Essential Accessories
Beyond the camera and lens, a few accessories are crucial:
- Tripod or Monopod: Stabilizes your camera, especially with heavy telephoto lenses, reducing blur from camera shake and allowing for slower shutter speeds in low light.
- Extra Batteries and Memory Cards: Wildlife photography often involves extended periods in the field. Always carry spares.
- Weather Protection: A rain cover for your camera and lens, and appropriate clothing for yourself, are vital for comfort and equipment safety.
- Cleaning Kit: Dust and smudges are inevitable. A lens pen, microfiber cloths, and a blower bulb keep your optics clean.
Fundamental Photography Techniques
Understanding core photographic principles is key to moving beyond snapshots to compelling wildlife images.
Mastering Exposure: Shutter, Aperture, ISO
The exposure triangle dictates how light is captured:
- Shutter Speed: Crucial for freezing motion. For stationary animals, 1/250s to 1/500s might suffice. For birds in flight or running mammals, aim for 1/1000s or faster.
- Aperture (f-stop): Controls depth of field. A wider aperture (smaller f-number like f/4 or f/5.6) isolates your subject from a busy background, creating pleasing bokeh. A narrower aperture (larger f-number like f/8 or f/11) keeps more of the scene in focus, useful for landscapes with animals.
- ISO: Determines sensor sensitivity to light. Use the lowest ISO possible (e.g., ISO 100-400) for clean images. Increase it only when necessary to achieve a fast enough shutter speed or desired aperture, balancing noise against a sharp image.
Workflow: Start in Shutter Priority (Tv/S) mode, setting a fast shutter speed, and let the camera choose aperture and ISO (or set ISO to auto within a safe range). As you gain confidence, move to Manual mode for full control.
Autofocus Modes for Dynamic Subjects
Set your camera to continuous autofocus (AI Servo on Canon, AF-C on Nikon/Sony). This mode continuously adjusts focus as your subject moves, essential for sharp images of active animals. Experiment with different autofocus area modes (e.g., single point, dynamic area, 3D tracking) to find what works best for your subjects.
Composition: Framing Your Story
Beyond technical settings, composition elevates an image:
- Rule of Thirds: Place your subject or key elements along the intersecting lines or points of a tic-tac-toe grid.
- Eye-Level Perspective: Getting low to the animal's eye level creates a more intimate and engaging photograph.
- Negative Space: Use empty space around your subject to draw attention to it and create a sense of scale or environment.
- Leading Lines: Utilize natural lines in the environment (e.g., branches, paths) to guide the viewer's eye to the subject.
Understanding Light
The quality and direction of light significantly impact your photos. The "golden hour" (shortly after sunrise and before sunset) provides soft, warm light that is ideal for wildlife. Avoid harsh midday sun, which creates strong shadows and blown-out highlights.
Pro Tip: Patience is paramount in wildlife photography. Animals are unpredictable. Find a good spot, set up, and be prepared to wait. Often, the best shots come after extended periods of observation, allowing the animal to become accustomed to your presence and exhibit natural behavior. Maintain a respectful distance to avoid disturbing wildlife.
Field Craft and Ethics
Responsible wildlife photography prioritizes the well-being of animals and their habitats.
- Respect Wildlife: Never approach animals too closely, chase them, or bait them. Their safety and natural behavior are more important than a photograph.
- Know Your Subject: Researching animal behavior patterns (feeding times, migration routes, active periods) increases your chances of encountering and photographing them without disturbance.
- Leave No Trace: Pack out everything you pack in. Stay on designated trails. Minimize your impact on the environment.
- Safety First: Be aware of your surroundings and potential hazards. Inform others of your location, especially in remote areas.
Post-Processing Basics
Post-processing is an integral part of modern photography, allowing you to refine your images.
- Shoot in RAW: RAW files contain more image data than JPEGs, offering greater flexibility for adjustments in post-processing without degradation.
- Import and Cull: Efficiently import your photos and then ruthlessly cull, deleting out-of-focus or uninteresting shots.
- Basic Adjustments: Focus on fundamental edits:
- Exposure: Adjust brightness and contrast.
- White Balance: Correct color casts.
- Highlights/Shadows: Recover detail in over- or underexposed areas.
- Cropping: Improve composition and remove distractions.
- Sharpening: Enhance detail (apply sparingly).
Software: Many beginner-friendly photo editing software options exist, offering intuitive interfaces for these essential adjustments.
Taking Your Next Steps
Wildlife photography is a journey of continuous learning and adaptation. Start with the basics, practice consistently, and learn from every outing. Your first sharp, compelling wildlife image will be a testament to your patience and developing skill. Don't be discouraged by missed shots; they are part of the learning process. The goal is to connect with nature and capture its essence, one frame at a time.
Frequently Asked Questions
What is the most important camera setting for wildlife photography?
Shutter speed is often the most critical setting, especially for moving subjects. Prioritizing a fast shutter speed (e.g., 1/1000s or faster) helps freeze action and prevent motion blur, ensuring sharp images.
Do I need expensive gear to start wildlife photography?
No, you do not. While professional gear offers advantages, you can begin with an entry-level DSLR or mirrorless camera and a telephoto zoom lens (e.g., 70-300mm). Skill, patience, and understanding light are more impactful than the most expensive equipment.
How can I find wildlife to photograph?
Research local parks, nature reserves, and wildlife sanctuaries. Understand the habits of local species, including their active times and preferred habitats. Patience and quiet observation are key to successful encounters.
Is it okay to use bait to attract wildlife for photos?
No, baiting wildlife is generally discouraged and often unethical. It can alter natural behaviors, create dependency, and potentially harm animals. Focus on observing and photographing animals in their natural, undisturbed state.